Views: 4
Microsoft keeps on introducing new features to MS TEAMS and this time some useful ones for folks migrating their telephony from Cisco /other PBX to MS TEAMS.
Under an Auto Attendant and Call Queue, now there is a possibility to add the authorized users.
Yes, you can add multiple users and they must be Enterprise Voice enabled.
An Authorized user do have importance if you compare to what we have in Cisco Unity who manages, greeting, add or remove the wav files – Greeting Admin.
A sort of similar concept w.r.t to Greeting Admin, MS Teams have Authorized Users now for AA and CQ.
AA and CQ Config Pane:
Once you build your desired AA or CQ, the very last item in the config pane is Authorized user.
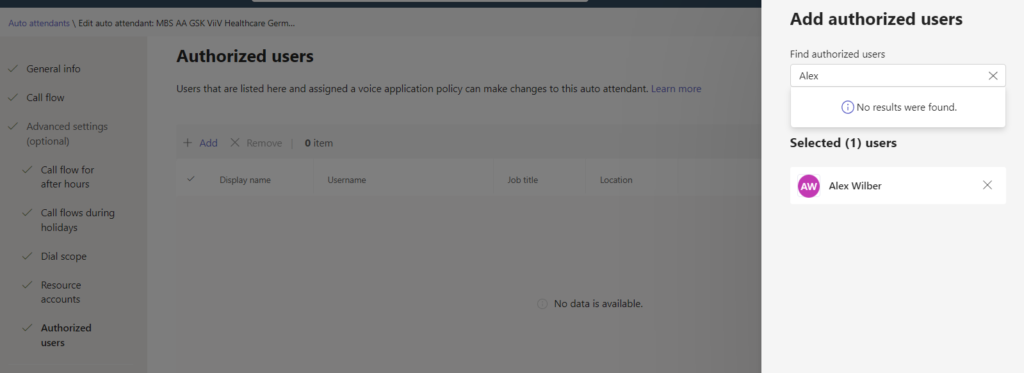
Add multiple desired EV enabled users here so that they can make certain changes in AA / CQ.
Note: Max 15 users allowed.
Voice Application Policies
Now, one important item to consider here is creating and assigning a brand new feature policy- Voice Application Policy.
You must create a policy, by default a Global Policy is already available.
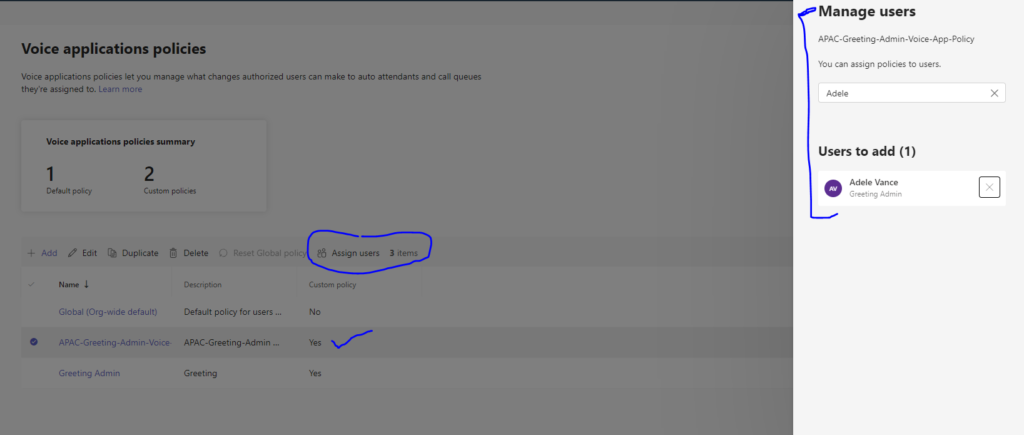
Go to TAC, Dashboard pane on left side–> Voice–> Voice Applications Policies

Try adding a new Policy here and checkout the stuff.
You can create a meaningful name and set the format as per business requirement.
Also, possibility that you can only create a few Greeting Admin and then accordingly create a few Voice App policies as business needs.
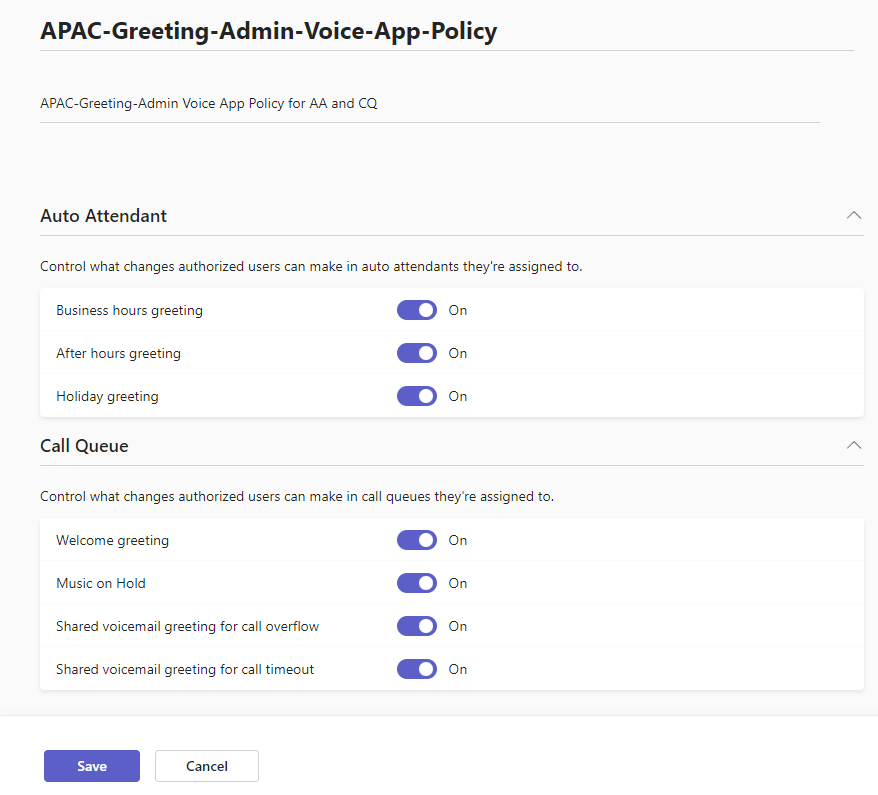
As per sample policy, see the different changes an authorized user can make in auto attendants and call queues they are assigned to.
Policy assignment to desired Authorized Users
You also need to assign this new policy to the Greeting Admin user.
Once all is set and done, login to the Teams client of the Admin user.
Teams client settings
Navigate through the Settings icon by clicking on 3 dot ellipsis and choose Call settings.
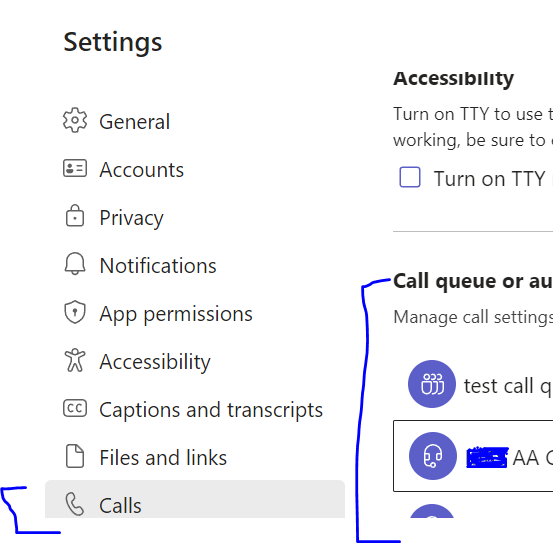
Here, you can see different AA and CQ associated with this user.
Once you choose the AA where you are an Authorized user, you will see what can be done now.
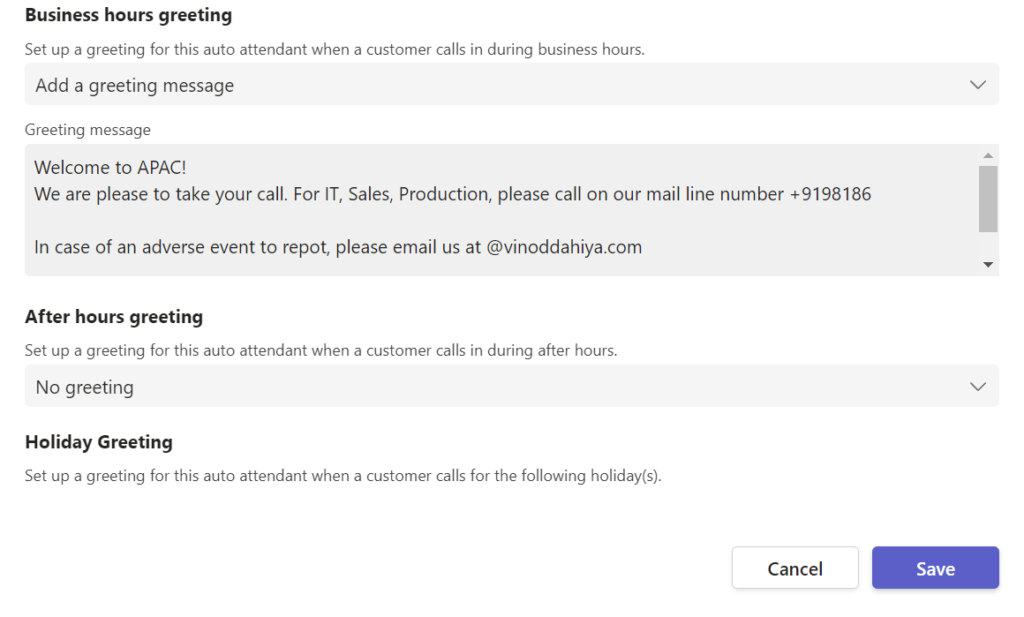
In case, you would like to add a wav file you can choose the desired option but wav file must be lesser than 5 MB, you might need to shrink the file size in some situations.
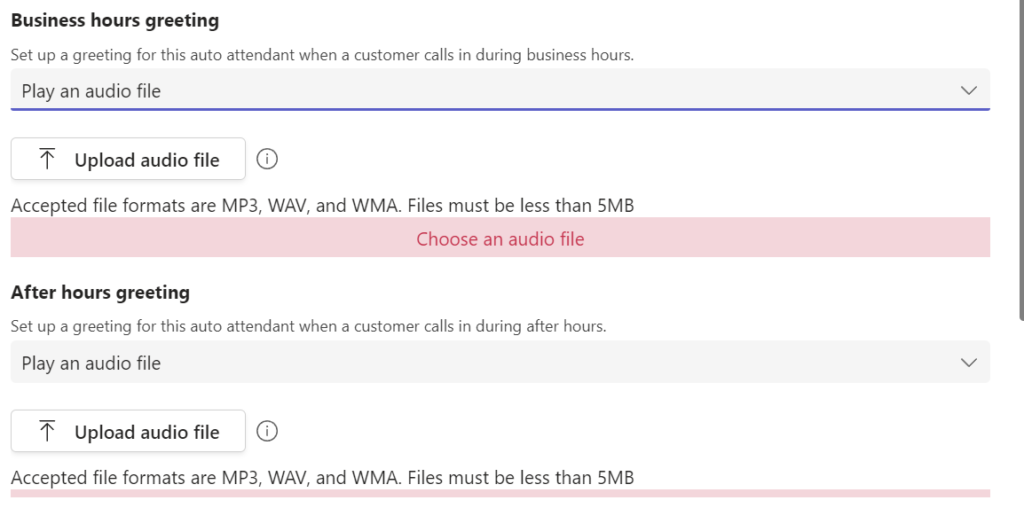
If you like to change the greeting message or wav file, you simply hit on the cross on the previous uploaded wav/mp3/wma file and add a new file or replace the greeting text to speech message.
This is simply done. Great!
Cisco Unity Greeting Admin v/s TEAMS Authorized User
Important to understand here is in Cisco, Greeting Admin can record the greeting natively, however, in Teams, an Authorized user can not natively record the greeting so far.
In Zoom, there are different options, Text to speech, Upload and record from local computer.
In TEAMS, greeting wav file must be pre-recorded and supplied to the admin to upload only.
This would help you to setup the desired feature and make your life easier.
Cheers!